Ever put on a wig and felt like everyone within a five-mile radius could tell it wasn’t your real hair? I’ve been there. After years of experimenting with wigs for both fun and necessity, I’ve learned that the difference between an obvious wig and one that looks like it’s growing from your scalp comes down to some simple but game-changing techniques.
How to Make a Wig Look Real: Pro Tips That Actually Work
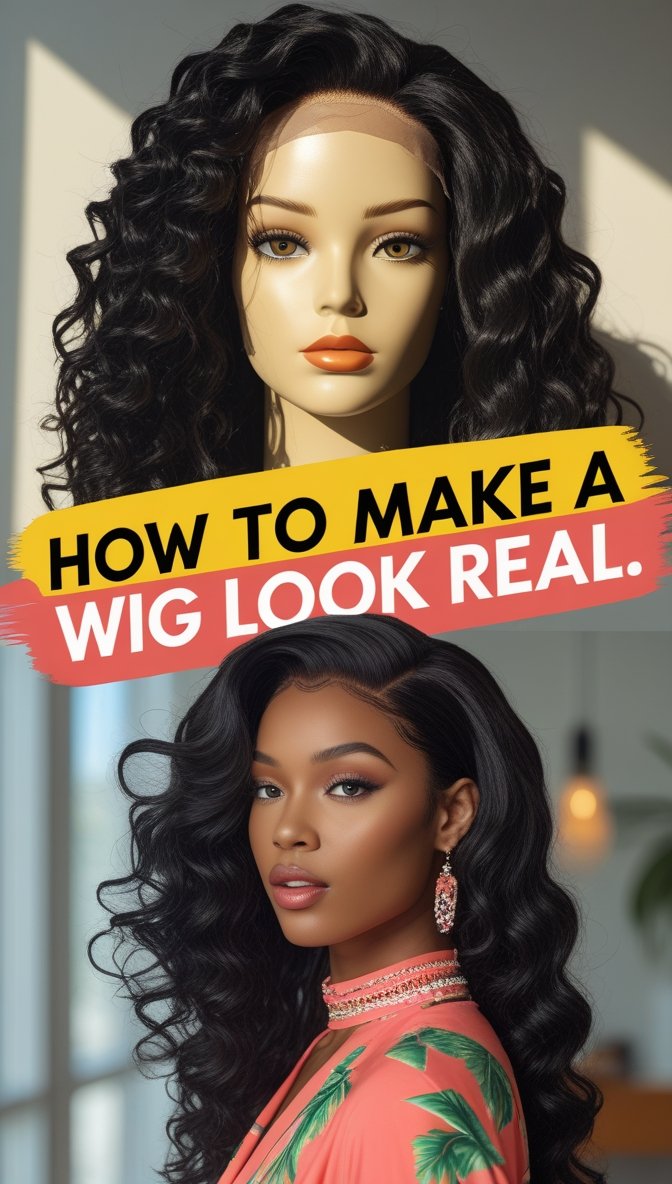
In this guide, I’m sharing all my hard-earned secrets to transform even budget wigs into natural-looking hair that will have people asking, “Who does your color?” instead of “Is that a wig?”
Why Do Some Wigs Look So Fake?
Let’s address the elephant in the room—many wigs straight out of the package look about as natural as a plastic plant. The main giveaways are:
- That super shiny, plastic-looking finish
- The too-perfect hairline that starts abruptly
- The unrealistic density (way too much hair)
- The lack of natural movement when you turn your head
- That telltale “cap” appearance at the part or crown
The good news? Every single one of these issues can be fixed with the right techniques. Whether you’re working with a $30 synthetic wig or a $300 human hair one, these tips will elevate your wig game significantly.
Choosing the Right Wig: Your Foundation for Success
Human Hair vs. Synthetic: Pros and Cons
- Human Hair Wigs:
Human hair wigs provide the most natural look and feel right out of the box. They move like real hair because, well, they are real hair. They can be heat-styled, colored, and cut just like your own hair.
The downside? They’re expensive, require more maintenance, and can be damaged by the same things that damage natural hair (heat, chlorine, sun exposure).
- Synthetic Wigs:
Modern synthetic wigs have come a long way. High-quality options can look surprisingly natural and often hold their style better than human hair wigs—even in humidity or rain.
The downside? They can’t typically be heat-styled (with some exceptions), they tend to be shinier, and they have a shorter lifespan. However, they’re much more affordable and low-maintenance.
-
Cap Construction Matters
The way a wig is constructed plays a huge role in how natural it can look:
- Lace Front Wigs: These have a sheer lace strip at the front hairline that creates the illusion of hair growing from your scalp. This is the minimum I recommend for a natural look.
- Full Lace Wigs: These have lace covering the entire cap, allowing for versatile styling, including ponytails and updos. They offer the most natural look but come with a higher price tag.
- Monofilament Top Wigs: These have a sheer, skin-like material at the crown or part that mimics a natural scalp. Great for realistic parting.
- Hand-Tied Wigs: These have hair that’s individually tied to the cap by hand, creating natural movement and allowing you to style the hair in any direction.
When shopping for a wig, look for at least a lace front and preferably a monofilament part for the most natural appearance.
Step-by-Step Guide to Making Your Wig Look Real

Ready to transform your wig? Let’s break down the process from prep to final styling.
Step 1: Prep Your Natural Hair
Before even putting on your wig, you need to create a smooth, flat base:
- Wash and dry your hair thoroughly. Damp hair under a wig can lead to mold and bacterial growth—not to mention it’s uncomfortable.
- Braid or twist your hair in a flat pattern against your scalp. For short hair, gel it down. For longer hair, French braids or flat twists work well.
- Put on a wig cap that matches your skin tone. Mesh caps tend to lay flatter than nylon ones. If you have a lot of hair, consider using two caps.
- Secure any flyaways with bobby pins or hairpins to ensure a completely smooth surface.
A flat base is non-negotiable for a natural-looking wig. Any bumps or bulges underneath will make the wig sit unnaturally on your head.
Step 2: Customize the Hairline
The hairline is the biggest giveaway of a fake wig. Here’s how to make it look natural:
- Pluck the hairline to create a more realistic density gradient. Using tweezers, gently remove hairs from the front lace section to create a more random, less dense appearance. Focus particularly on the area directly at the front and around the temples.
- Add baby hairs by cutting a few strands shorter along the hairline and styling them with a small brush and gel. Don’t overdo this—natural baby hairs are subtle.
- Bleach the knots on lace front or full lace wigs to hide the dark dots where the hair is tied to the lace. This is an advanced technique, so you might want to have a professional do it for you the first time.
For synthetic wigs, plucking still works, but you’ll need to be more careful as the fibers are attached differently than in human hair wigs.
Step 3: Perfect the Fit
A wig that’s too tight or loose is an instant giveaway:
- Adjust the straps inside the wig to fit your head shape perfectly. The wig should feel secure but not give you a headache.
- Use wig tape or adhesive along the hairline for extra security and a more seamless blend. Silicone-based adhesives work well and won’t damage the lace.
- Consider sewing in small combs if your wig doesn’t have them. These grip your natural hair beneath the cap and prevent shifting.
The wig should feel like part of your head—when you turn, it should move naturally with you without any slipping or adjusting needed.
Step 4: Cut and Style
Even the most expensive wig benefits from customization:
- Get it professionally cut while you’re wearing it. A stylist can shape the wig to flatter your face and remove excess bulk that makes wigs look fake.
- Add layers to create movement and dimension. Blunt, uniform wigs scream “fake” from a mile away.
- Trim the length slightly. Most wigs come a bit longer than their stated length to allow for customization.
For synthetic wigs, find a stylist who specializes in them, as they require different cutting techniques than human hair.
Step 5: Reduce the Shine
That plastic shine is a dead giveaway, especially with synthetic wigs:
- Wash your wig before first wear. This removes the manufacturing coating that creates excessive shine.
- For synthetic wigs, use dry shampoo or a specialized wig spray to dull the shine. Some people swear by a light dusting of translucent setting powder.
- For human hair wigs, use regular hair products that provide a natural finish. Avoid super glossy serums or oils unless your natural hair is very shiny.
Remember, natural hair has varying levels of shine throughout, not a uniform glossy finish.
Step 6: Create a Realistic Part
The part is another area where wigs often look fake:
- Widen the part slightly using tweezers to pluck a few hairs along each side.
- Apply concealer or foundation that matches your skin tone to the part area to create the illusion of a scalp.
- For non-lace wigs, you can create a more natural part by teasing the hair at the root and using dark-colored dry shampoo to reduce the visibility of the weft.
A realistic part makes a dramatic difference in how convincing your wig appears.
Step 7: Blend with Your Natural Hairline
For the ultimate natural look, blend your wig with your own hair:
- Leave out a small amount of your natural hair at the hairline if it’s a similar color to your wig.
- Use a flat iron or curling wand to ensure your natural hair and the wig have the same texture.
- Apply styling products consistently across both your natural hair and the wig for a uniform finish.
This technique works best with well-matched colors and is optional for those who prefer full coverage.
Products That Make a Difference
Having the right tools and products makes wig customization much easier:
Must-Have Tools:
- Fine-tipped tweezers for plucking and customizing the hairline
- T-pins for securing the wig while working on it
- Wig stand or styrofoam head for styling when the wig is off
- Rattail comb for creating precise parts
- Wide-tooth comb for general detangling
- Small scissors for trimming baby hairs and detail work
Essential Products:
- Wig tape or adhesive for secure placement
- Wig caps that match your skin tone
- Dry shampoo to reduce shine and add texture
- Heat protectant spray for human hair wigs
- Styling products appropriate for your wig type
- Wig-specific shampoo and conditioner
Investing in these basics will make a huge difference in your results.
Caring for Your Wig to Maintain a Natural Look

Proper maintenance keeps your wig looking fresh and natural:
- Wash your wig regularly but not too frequently. For synthetic wigs, every 6-8 wears; for human hair, every 7-10 wears.
- Use specialized products designed for wigs. Regular hair products can damage synthetic fibers and strip human hair wigs.
- Detangle gently starting from the ends and working up, never from the roots down.
- Store properly on a wig stand or in a silk bag when not in use to maintain its shape and prevent tangling.
- Refresh between washes with dry shampoo or a light misting of wig revitalizer spray.
Remember, a well-maintained wig will always look more natural than one that’s been neglected.
Advanced Techniques for Pro-Level Results
Once you’ve mastered the basics, these advanced techniques can take your wig game to the next level:
Root Shadowing
Creating darker roots on a lighter wig mimics the natural growth pattern of hair:
- Use temporary root spray or eyeshadow for synthetic wigs
- For human hair wigs, a professional can add lowlights at the root area
This technique adds depth and dimension while making the wig look more realistic.
Strategic Highlighting
Adding subtle highlights frames the face and creates natural-looking dimension:
- For human hair wigs, professional highlighting is best
- For synthetic wigs, some newer styles come with highlights built-in
Avoid uniform color at all costs—natural hair has variations in tone.
Steam Styling for Synthetic Wigs
Many synthetic wigs can be styled with steam:
- Use a handheld steamer (not directly touching the fibers)
- Gently brush or finger-style while the fibers are warm
- Allow to cool completely before moving
This can help create more natural movement in synthetic hair.
Common Mistakes to Avoid
Learn from my errors so you don’t have to make them yourself:
-
Overplucking
It’s easy to get carried away when plucking the hairline. Work slowly, step back frequently to check your progress, and remember you can always pluck more, but you can’t put hair back.
-
Ignoring Density
Natural hair isn’t uniformly thick throughout. If your wig looks too full, have a professional thin it out, especially at the ends and around the face.
-
Skipping the Cut
Almost no wig looks completely natural straight out of the box. Budgeting for a professional cut dramatically improves the end result.
-
Using Too Much Product
Heavy products can weigh down a wig and make it look greasy or stiff. Start with less than you think you need and build up if necessary.
-
Improper Storage
Throwing your wig on a table or stuffing it in a drawer ruins its shape and creates tangles. Always store it properly to maintain its natural appearance.
Different Approaches for Different Situations

Your approach might vary depending on why you’re wearing a wig:
For Medical Hair Loss
If you’re wearing a wig due to medical hair loss:
- Consider visiting a specialized salon that works with cancer patients
- Look into insurance coverage for medical wigs (often called “cranial prostheses”)
- Prioritize comfort as much as appearance
- Consider lighter weight options that won’t irritate sensitive scalps
For Fashion and Versatility
If you’re wearing wigs for fashion:
- Experiment with colors and styles you couldn’t achieve with your natural hair
- Consider multiple less expensive wigs rather than one high-end piece
- Focus on the most visible elements (hairline, part, overall style)
For Thinning Hair
If you’re supplementing thinning hair:
- Look into toppers or partial wigs that blend with your natural hair
- Focus on matching your natural color and texture perfectly
- Consider hair building fibers as an alternative or supplement to wigs
My Personal Wig Journey

When I first started wearing wigs, I made every mistake in the book. The worst was probably the time I wore a jet-black, super shiny synthetic wig to a job interview. Even the interviewer couldn’t keep her eyes off my unnaturally perfect hair!
Over time, I learned that less is more. I now have a collection of human hair and high-quality synthetic wigs that I’ve customized following the steps above. The difference is night and day.
My favorite moment was when my regular hairstylist (who knows I wear wigs) couldn’t tell I was wearing one when I came in for an appointment. That’s when I knew I’d finally mastered making my wigs look real!
Final Thoughts: Confidence is Key
Here’s a secret about wearing wigs: confidence matters as much as customization. If you’re constantly touching, adjusting, or drawing attention to your wig, people will notice it more.
Once you’ve customized your wig using these techniques, wear it proudly. The more comfortable and confident you feel in your wig, the more natural it will appear to others.
Remember, even people with natural hair have “off” hair days. Don’t stress about absolute perfection—focus on creating a look that makes you feel good about yourself.
With these techniques and a bit of practice, you’ll soon be wearing wigs so natural-looking that no one will ever guess your gorgeous locks came from a box!